Two tailors can measure the same person and get different numbers, and neither has made a mistake. One stands the tape on edge, one holds it flat. One takes the shoulder from the bone, the other from the seam of the shirt. What keeps a shop consistent is everyone measuring the same way, every time.
The steps below follow general practice, drawn from New Mexico State University's guide on body measurements and from sewing references. Your house method may differ. If it does, write it down and teach it.
Tools
- A tape that will not stretch. Old tapes do, so check yours against a steel rule now and then.
- Narrow elastic or cord for marking the waist. Tie it on and let it settle.
- Tailor's chalk, or pins for marking points on a garment.
- A measurement sheet or form with fields already set out. Our printable tailor measurement sheet is one option.
Get the person ready
Ask the customer to stand normally, feet a little apart, and to breathe as usual. Holding the breath or pulling in the stomach gives a false measurement, and many customers do it without thinking.
- Clothing. Fitted clothes, nothing bulky. Empty the pockets. For formal or bridal work, ask them to wear the undergarments they will wear with the garment.
- Shoes. Ask them to bring the shoes they will wear. A hem or a floor-length garment depends on the heel.
- The wearer's preference. Ask how they like it to fit, and write down the answer. A person who wears a loose kandura and a person who wears a close one may have the same chest.
Handle the tape properly
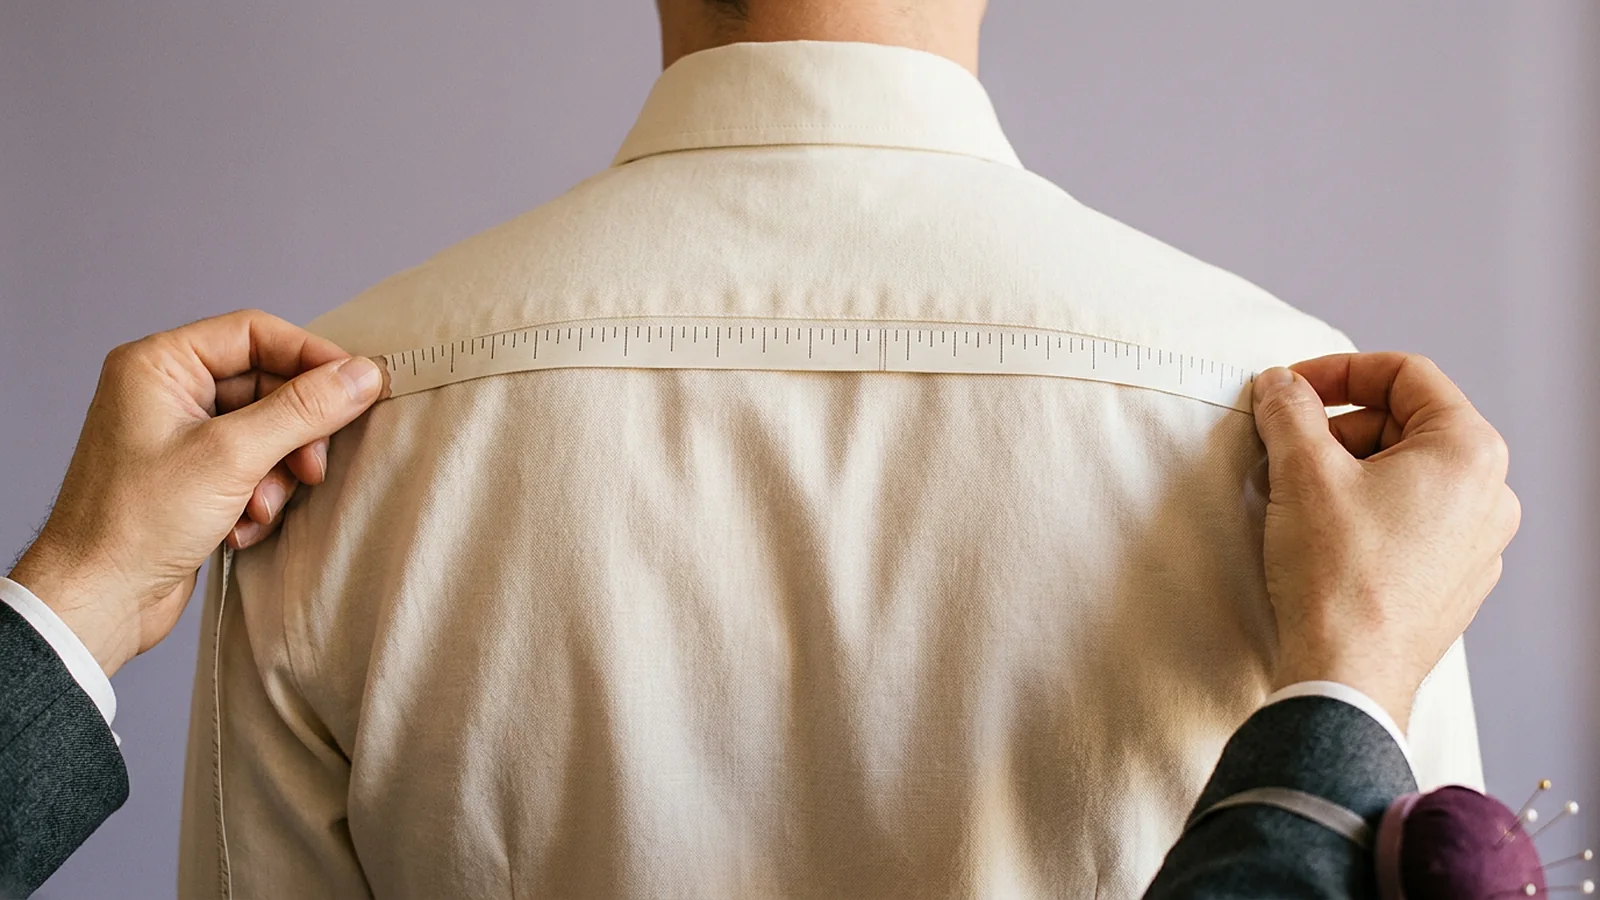
- Keep it snug, not tight, and level with the floor on any horizontal measure.
- Check the tape at the back. It often drops there while the front looks fine.
- Stand the tape on its edge around curves.
- Note the number while your hand is still on the tape. Then move on.
Measure the body first and add ease separately. Keep the two apart on the sheet. If someone later sees 44 on a chest line, they should know whether that is the body or the finished garment.
Find the reference points
Three points cause most disagreement, and each can be found by feel.
- Back of the neck. Bend the head forward and feel for the prominent bone at the top of the spine. Measure lengths from there.
- Shoulder point. Raise the arm until a dimple appears at the end of the shoulder, then feel for the bone.
- Natural waist. Tie elastic around the waist and have the person bend side to side. It will settle in the natural hollow. On some figures that line sits higher at the back than the front, so mark it.
Key measures by garment
These are the usual starting points. Add what your own cut needs.
| Garment | Round the body | Lengths and widths |
|---|---|---|
| Shirt | Neck, chest, waist, seat, bicep, wrist | Shoulder width, back length, sleeve length |
| Trousers | Waist, seat, thigh, knee, hem opening | Outside leg, inside leg, rise |
| Jacket | Chest, waist, seat, bicep | Shoulder width, back width, jacket length, sleeve length |
| Kandura or thobe | Neck, chest, waist, seat, bicep, cuff | Shoulder width, sleeve length, full length from neck to chosen hem |
| Abaya | Bust, waist, hip, upper arm, wrist | Shoulder width, sleeve length, full length from shoulder to floor, in the shoes to be worn |
Notes on the tricky ones
- Hips and seat. Slide the tape down the hips to find the widest point, which may sit a few inches below the waist, or much lower. If the thigh is wider than the hip, measure both and use the larger.
- Sleeve. Bend the arm slightly for a sleeve that goes past the elbow. A straight arm gives a short sleeve.
- Rise. Run the tape between the legs from front waist to back waist, or seat the person on a chair and measure from waist to seat. Pick one way for the whole shop.
- Full-length garments. For a kandura or abaya, confirm the hem with the wearer standing. On a long skirt, the NMSU guide measures to the floor at the centre front, the centre back and both sides, and that habit suits any full-length garment on a figure that is not even.
Left and right
Record left and right separately where they differ. Most people are not even. A dropped shoulder or a longer arm belongs in the notes, in words a cutter will understand a year from now.
Inches or centimetres
Pick one unit for the shop and stay with it. One inch is 2.54 cm, so a 40-inch chest is 101.6 cm. The damage comes from mixing them: a figure of 16 on a sheet could be a neck in inches or something else in centimetres, and a new cutter has to guess. Print the unit at the top of each sheet. If a customer brings a size from elsewhere, convert it and note that you did.
Decide how far you round as well. A shop working to the quarter inch and a shop working to the half centimetre should say so, so that nobody rounds twice.
Record by garment, with a date
- Keep a separate set for each garment type. A suit chest and a kandura chest are used differently.
- Put the date and the initials of the person measuring on each set.
- Keep old sets when you take new ones. Comparing them shows a change in weight or posture, and it helps when a customer disputes a fit.
- Read the figures back to yourself once before the customer leaves. A number that looks wrong is easy to retake then.
Whether a book or an app suits you better is a question of its own. We compare them in measurement app vs book. In Tailoq, each save becomes a new dated set with fields per garment, and you can compare the latest sets side by side.
See how Tailoq keeps measurements by garment, with every set dated.
Measurements Book a demo